How to fix a blurry AI 3D model texture
An AI texture can look sharp in the preview and soft once you turn the model or zoom in. The texture is a flat image wrapped around the model, so it has a fixed number of pixels. When too few of those pixels cover a part, or the part was painted from a steep angle, it looks blurry.
This tutorial covers the usual causes and the controls in the AI 3D Texturing Studio that fix each one, with real examples from our own AI model.
What you need
- A textured model open in the studio
- A computer for the sharpest texture map
- 2 credits per view you repaint
1Find out why it looks blurry
Look at where the blur is. If the whole model is soft, the texture map is too small or it came from Quick preview. If only some parts are soft (the top, the underside, the sides of thin parts), those parts were seen at a steep angle. If the texture looks stretched or smeared in one direction, the UV map gives that part too few pixels.
Each cause has its own fix below, so you only spend credits where they help.
2Texture on a computer for a bigger texture map
On a computer, the studio paints into a 2048 × 2048 pixel texture map. On a phone or a small touch screen it uses 1024 × 1024 to save memory, which has a quarter of the pixels.
For the sharpest result, open the model on a computer. Small details such as text, number plates and badges gain the most.
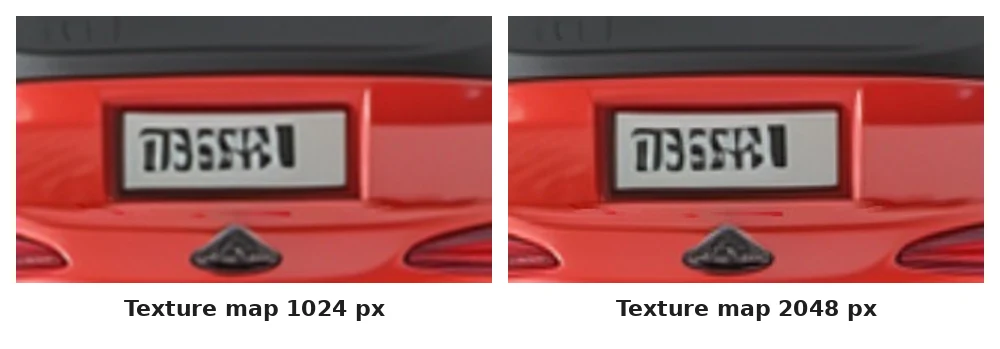
The same part of the texture map: 1024 px (left) is soft, 2048 px (right) is crisp. 3Use Auto texture for full detail, not only Quick preview
Quick preview: 4 sides in 1 call (2 credits) fits the front, right, back and left into one AI image, so each side gets about a quarter of the pixels. It is the fastest way to choose a look, but it has less detail.
When you like the look, press Auto texture (2 credits per view). It paints each side with its own 1024-pixel AI image, so edges, panels and small parts come out much sharper.
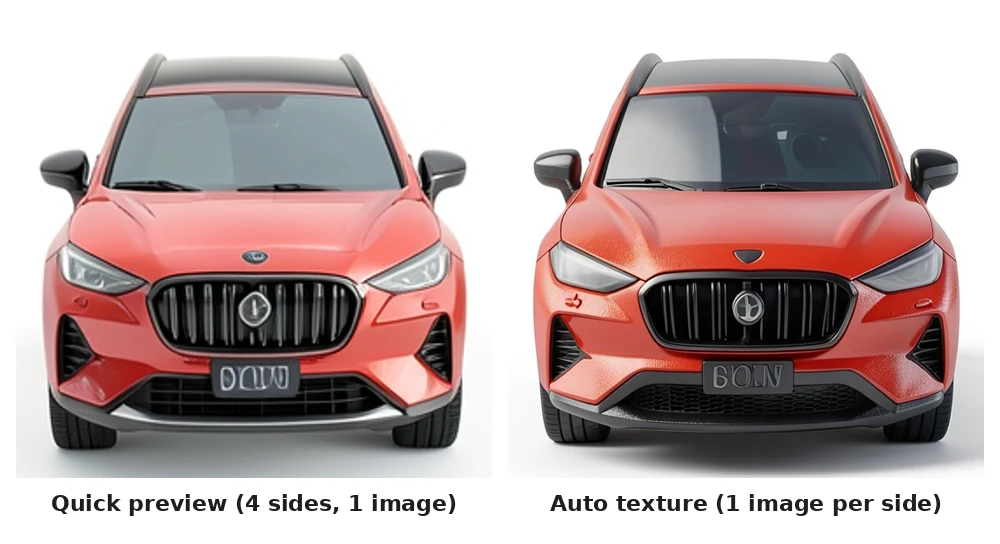
The same front: Quick preview (left) vs Auto texture (right). 4Add views so every part is painted head-on
A part that a camera sees at a steep angle, such as a roof or the top of a box seen from the side, gets its paint stretched across the surface and looks smeared. Next to Views:, pick 6 or 8: the extra views aim at the parts the first 4 see worst (the top, the underside and hidden sides). Details: texture hidden areas.
5Make new UVs if the texture looks stretched
If your file’s UV map squeezes a part into a tiny area, or mirrored parts share the same pixels, that part stays blurry however well it is painted. Under the UV choice, pick Make new UVs: every part gets its own pixels, and the studio can make the texture map bigger (up to 4096 pixels on a computer) so small cells still get enough detail. Use the GLB download with new UVs.
If you need to keep your own UV layout for a game or Blender file, choose Keep my UVs instead: the download then uses your file’s own texture size. More: keep your UV map.
6Repaint only the blurry part
Turn the model so the soft part faces you straight on: that gives the AI the most pixels for it. Pick the Select region tool, brush over the part (for example a face, a logo or a wheel), then press Paint the marked part (2 credits). Only the marked part changes.
Without a mark, Paint this view repaints everything the camera sees from that angle. Step by step: repaint part of a 3D model.
7Use Heal lightly
The free Heal brush blends a seam or a blotch into the colour around it, which also softens detail. Lower Heal strength and make short strokes only along the seam, so the rest of the texture stays sharp.
8Add surface detail with a normal map
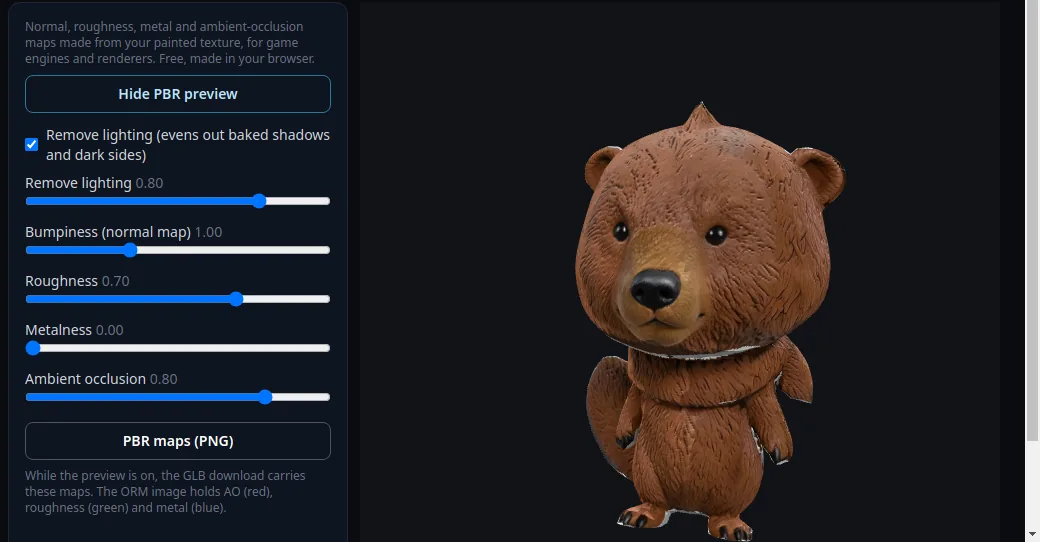
Under 4 PBR maps, press Make PBR maps. The normal map gives the surface small bumps and grooves that catch the light, so leather, stone and metal look less flat. Use the Bumpiness (normal map) slider to set how strong they are. Details: make PBR maps.
Tips
- Name the fine detail in the prompt, for example "brushed aluminium with fine scratches" or "stitched brown leather", rather than only a colour.
- Still blurry in your game or 3D viewer? Turn on mipmaps and anisotropic filtering, and check that the engine is not loading a smaller version of the texture (texture streaming or compression settings).
- Painted on a phone? Open the same model on a computer and run Auto texture again for the bigger texture map.
- More on how views become a texture: how projection texturing works.
Try it now
Open your model on a computer and run Auto texture.
Open the studioMore tutorials
 How to texture hidden areas with 6 or 8 viewsExtra views aim at the top, underside and spots 4 views miss.
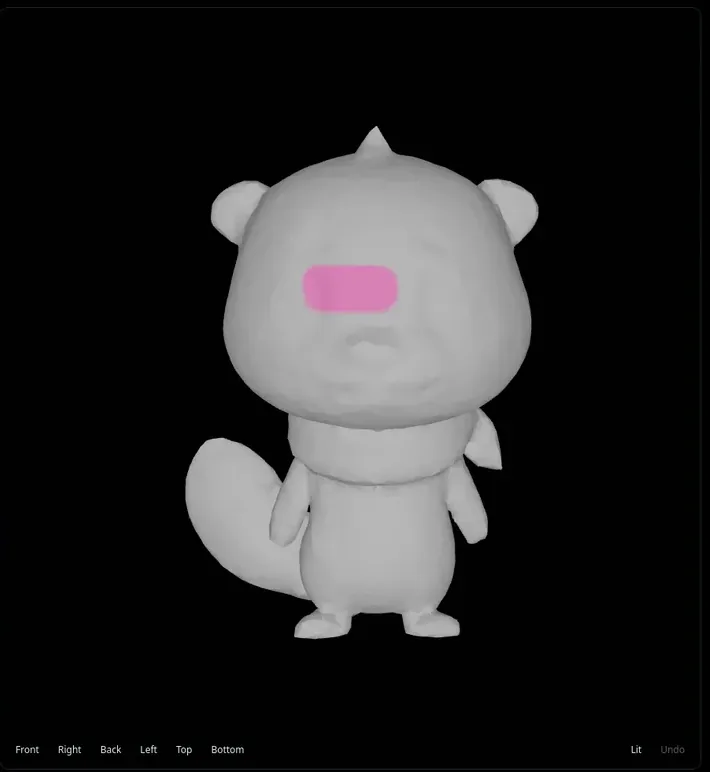 How to repaint only part of a 3D model with AIBrush over one part and repaint only that area.
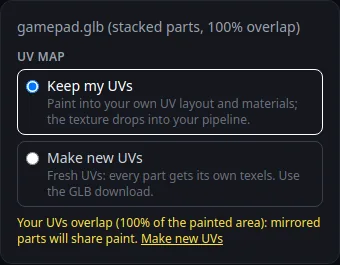 How to keep your own UV map when texturing with AIPaint into your existing UVs so the texture fits your file.
 How to make PBR maps for a 3D modelNormal, roughness, metal and AO maps from your painted texture, free.