How to get a consistent AI texture on every side of a 3D model
AI texturing paints a 3D model from camera views: the AI repaints a picture of the model, and the studio projects that picture back onto the surface. When each side is painted on its own, the AI can pick a slightly different colour or material every time, so the back no longer matches the front.
This tutorial shows why that happens and how the AI 3D Texturing Studio keeps the sides consistent, with real results from our own AI model.
What you need
- A model open in the studio
- A prompt or a style
- 2 credits for Quick preview, or 2 credits per view for Auto texture
1See why the sides drift
In our test on 10 sample models, we repainted the front, right, back and left with one AI call each and no colour matching. On 7 of the 10, the sides came back different: one castle side went blue and white while the others stayed grey, a dragon’s back turned blue, and a small part changed shape.
Each call only sees its own side, so nothing tells it what colour the other sides got. The fixes below all give the AI that missing link.
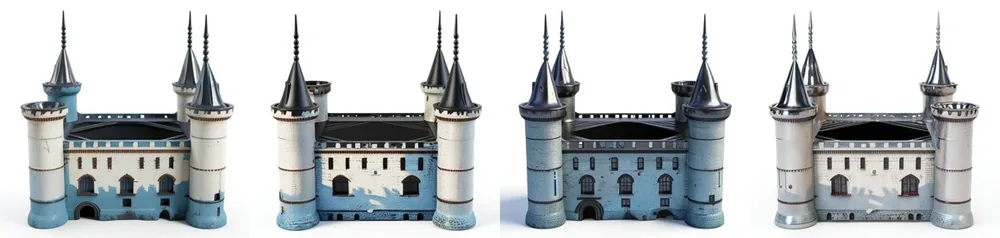
One AI call per side: the castle’s colours change from view to view. 2Start with Quick preview: 4 sides in 1 call
Describe the texture in box 2 Describe the texture (or pick a style), then press Quick preview: 4 sides in 1 call (2 credits). The studio puts the front, right, back and left into one image, so the AI sees every side at once and paints them in the same colours.
In the same test, one image for all 4 sides kept the colours consistent on 10 of the 10 models. The preview has less detail than single views, so use it to settle the look first.
If the AI mixes up the 4-view layout, nothing is painted and the studio says so: press Quick preview again or use Auto texture. If only some sides come out wrong, those stay grey and the message names them.
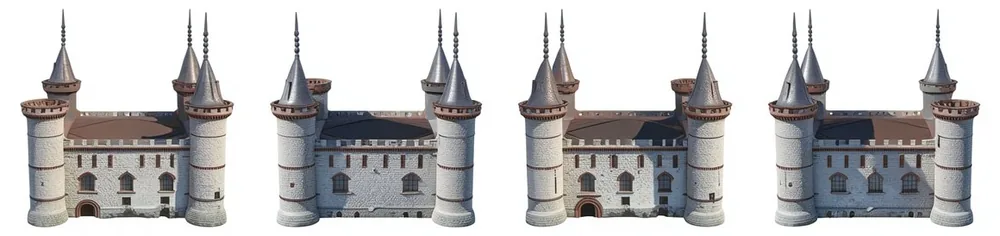
All 4 sides from one AI image: the same stone and roofs on every side. 3Run Auto texture for full detail
When you like the look, press Auto texture: 4 views (8 credits). It paints the front, right, back and left one view at a time, at full detail.
Each view sees what the earlier views painted, and every view after the first is colour-matched to the paint it overlaps. That is what keeps the back the same colour as the front.
4Add views for the top and hidden parts
Four side views miss the top, the underside and tucked-in parts. Next to Views:, pick 6 or 8: the extra views aim at the parts the first 4 see worst, and they are colour-matched like the others. Details: texture hidden areas.
5Fill grey spots without repainting the rest
Turn the model so a grey spot faces you, tick Only fill grey (unpainted) areas and press Paint this view (2 credits). Only the unpainted parts change, so the sides you are happy with stay as they are.
6Blend the lines where views meet
Where two views meet you may see a thin line. Stroke over it with the free Heal brush to blend it: see fix texture seams.
7Check every side
Drag the model round, and use the view buttons under the viewer to look at it from the front, the back, the sides, the top and the bottom. If one view looks wrong, press Undo and paint that view again.

The castle after the AI image was projected onto the model: the same stone from every angle.
Tips
- Keep the prompt about one material and one colour scheme, for example "weathered grey stone castle, brown wooden roofs". A list of many colours gives the AI more room to change its mind between views.
- Painting a single view by hand? Turn the model so it overlaps paint you already like: the new view blends into what is already painted.
- More on how views are projected: how projection texturing works.
Try it now
Try Quick preview on your own model.
Open the studioMore tutorials
 How to texture hidden areas with 6 or 8 viewsExtra views aim at the top, underside and spots 4 views miss.
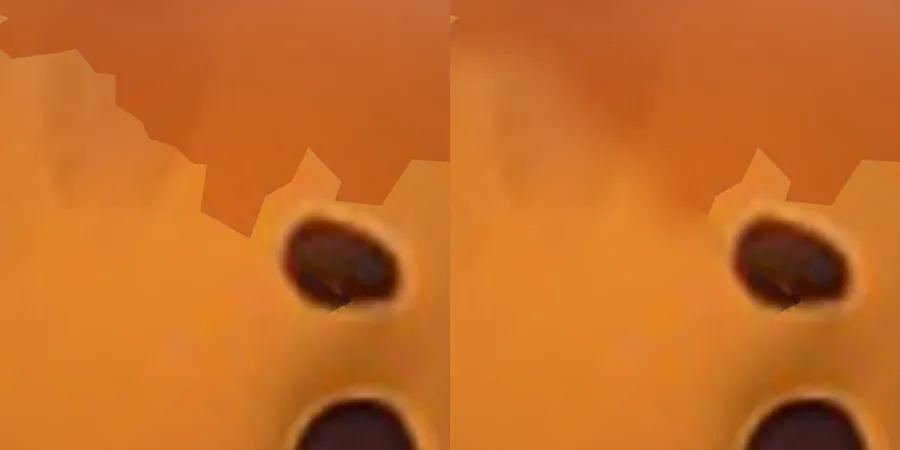 How to fix texture seams with the free Heal brushStroke along a seam line to blend it away. No credits.
 How to texture a 3D model with AIOpen a model, describe the look, press Auto texture, download.